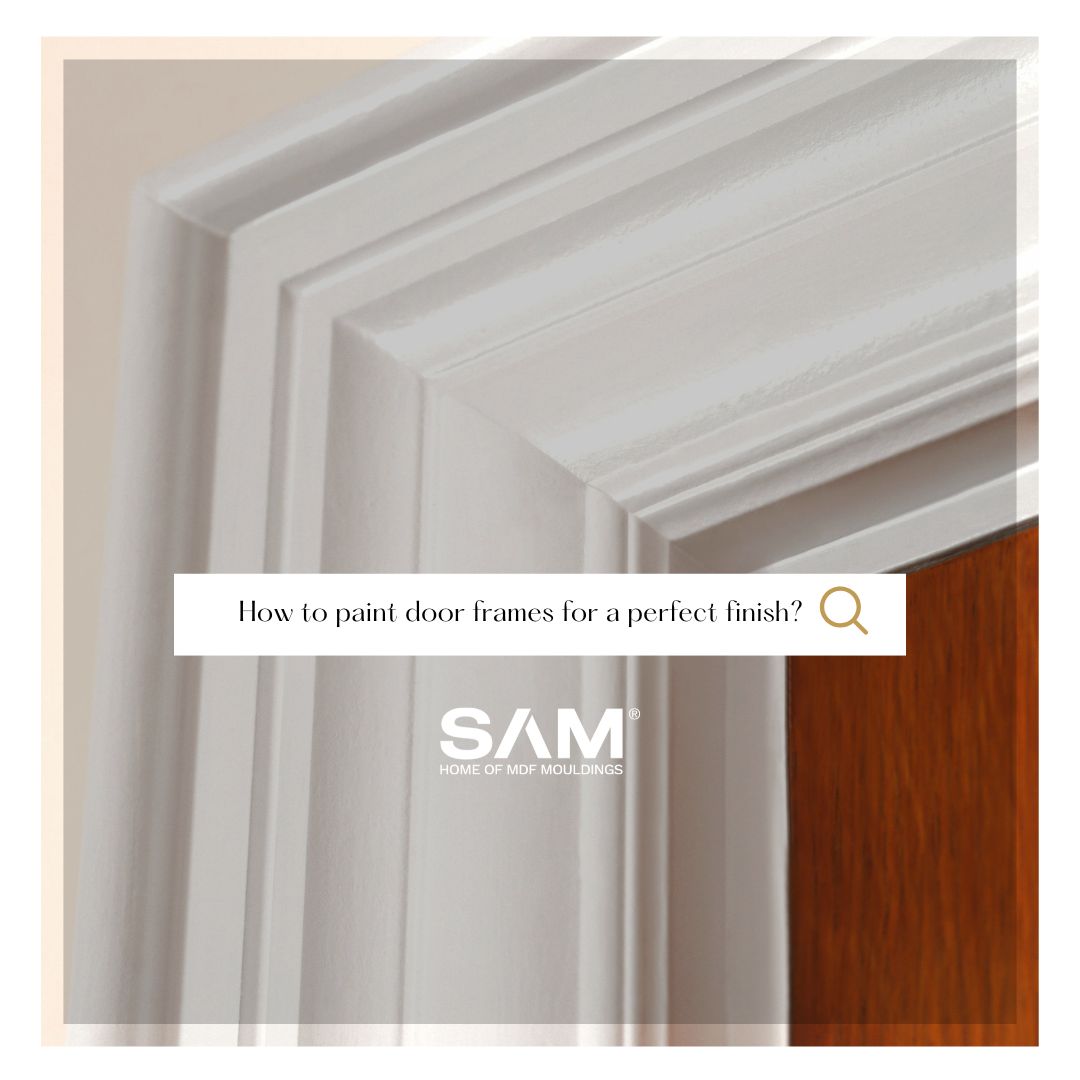
Painting door frames might seem like a straightforward task, but achieving a professional finish requires careful preparation, the right tools, and proper techniques. This guide will walk you through each step of the process, ensuring that your door frames look flawless.
Preparation is Key
If you choose SAM primed moisture-resistant MDF door frames, you’ll save considerable preparation time compared to softwood timber. This is because SAM MDF frames come pre-primed, reducing the need for extensive sanding and priming. Additionally, their moisture-resistant properties ensure long-lasting durability, minimising the risk of warping or swelling.
1. Protect Your Space
Before you start painting, it’s crucial to protect your surroundings. Lay down dust sheets or old newspapers to cover the floor and use masking tape to shield the hinges and adjacent wall edges from paint splatters. This step will save you time on cleanup and ensure that your paint job looks neat and professional.
2. Remove the Door
If required and/or possible, remove the door from its hinges. This allows you to access the entire frame easily and prevents the door from getting accidentally painted or damaged. Ensure your door covered with a protective sheet.
3. Surface Preparation
For SAM primed MDF door frames, lightly sand the surface with fine-grit sandpaper (280-320 grit). This helps to smooth out any imperfections and provides a better surface for the paint to adhere to.
Unlike softwood timber, which requires applying a knotting solution to prevent resin bleed, filling holes and cracks, sanding, and priming, SAM MDF door framing eliminates all these steps. This means you save time and effort, streamlining your preparation process for a hassle-free finish.
Painting the Door Frame
SAM’s door frames only require light sanding (denibbing) before painting and between coats, making the painting process much more efficient and straightforward.
1. Choose the Right Brushes
Using the right brush is essential for a smooth finish. A 2”/50mm synthetic brush is ideal for door frames as it provides good control and coverage. Ensure that your brush is clean and free of any loose bristles before you begin.
2. Apply an Undercoat
Applying an undercoat is a crucial step that should not be skipped. The undercoat helps to improve the adhesion of the topcoat. Apply a single layer of undercoat, making sure to cover all areas of the door frame evenly. Once the undercoat is dry, lightly denib the surface to remove any brush marks or imperfections
3. Painting Technique
Start painting from the top inside corner of the door frame, working your way outwards. Use long, linear strokes to paint the legs of the frame, ensuring that you cover the entire surface. Avoid overloading your brush with paint, as this can cause drips and an uneven finish. Instead, dip your brush lightly and apply thin coats, building up the colour gradually.
Finishing Touches
1. Allow Proper Drying Time
Each coat of paint needs adequate drying time to prevent smudging and ensure a durable finish. Follow the manufacturer’s recommendations for drying times and avoid rushing the process. It’s better to wait a little longer than to risk ruining your hard work.
2. Sand Between Coats
For the best results, lightly sand the surface between coats using 380/400 fine-grit sandpaper. This step, known as denibbing, removes any dust particles or brush marks and helps to achieve a smooth, professional finish.
3. Reattach the Door
After applying the final topcoat, allow the paint to dry thoroughly for at least 24 hours before reattaching the door. This ensures that the paint has fully cured and prevents any damage during reinstallation.
Maintenance Tips
To keep your newly painted door frames looking fresh and clean, regularly dust them with a soft cloth and avoid using harsh chemicals that can damage the paint. If you notice any chips or scratches, touch them up promptly to maintain the frame’s appearance.
SAM – Home of MDF Mouldings
By following this guide, you can achieve a beautifully painted door frame that enhances the overall look of your home. Happy painting!


